Showing posts with label installing. Show all posts

Tuesday, September 3, 2013

Raspberry Pi Journal #18

Installing MTPAINT

After my disastrous experience with GIMP, I tried a different tack. I downloaded mtpaint.

sudo apt-get install mtpaint

And it installed no problem. I see mtPaint under Graphics menu. So I set out to use it. It's pretty simple to use.


Oh, look! Colors! I can do coloring with this program! Okay, so maybe that's not a big deal, but I was having trouble with GIMP, remember?


And adding text is not a problem either. Looks like I mastered this program already, and it's not even 15 minutes. That's my kind of program!


Now that I've done experimenting, let's see if we can do something nice. Let's put a picture on an AbiWord document. Create new picture.
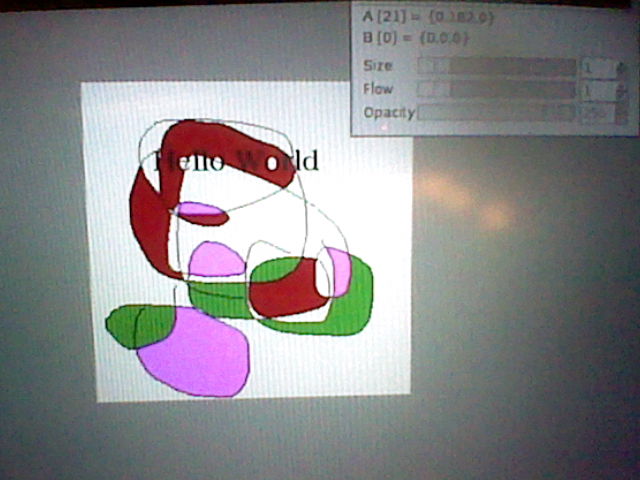


Do a quick classical masterpiece. Add some text. Put colors in. All in all, a great and wonderful new art work. Done in less than 5 minutes! What a deal!
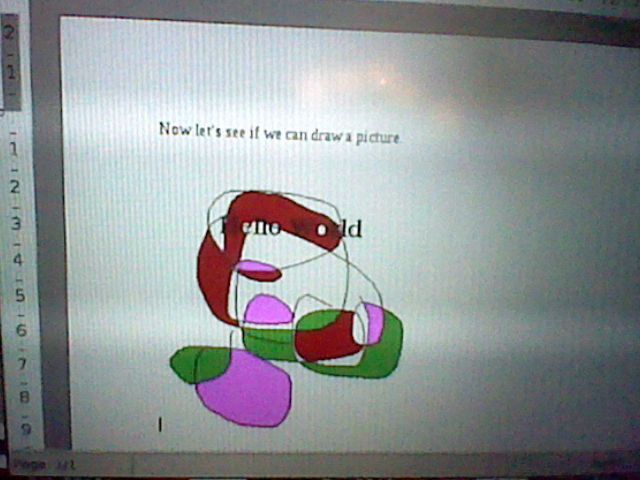


There it is in AbiWord. Looks like adding a picture is not a problem at all. There's only one thing to do now, and that is print it out.


Ta-da! That's how I want it done. Too bad my laser printer isn't color, but I don't expect miracles. There's always crayon if I want color, right?

Adding picture to word processor: Done!


Monday, September 2, 2013

Raspberry Pi Journal #17

Installing GIMP


Now that I have AbiWord, the next thing I want to have would be a paint program. GIMP fit the bill, so I installed it next:

sudo apt-get install gimp

Easy enough to do. Not a problem.


That's the logo you'll see when you download Gimp. Pretty neat, eh?


Okay. Here's the first problem. I don't know what to do. Sure GIMP is very powerful, but the user interface is kind of cryptic. I'm having trouble doing everything. I did play around with it, but nothing too fancy.


I can't even choose color! How bad is that? Not to mention, I missed my Wacom tablet. Oh, dear. I must rethink this over. I was hoping there'd be an easy integration with AbiWord. If there is, I never did find it.


This is the message that I get when I quit the program. I don't know what happens here, but I don't like it. Oh, well. I guess GIMP and raspberry pi are not compatible with one another. Too bad.


Saturday, August 31, 2013

Raspberry Pi Journal #16

Installing Abiword

Leafpad is fine, if what you're doing is some light word-processor, without any fancy things. If you want to have graphics, though, you need something better. There's open office or Libre office. There's also Abiword and Gnumeric. Let's do the easy way first. Install Abiword!

The first thing I check is to see whether or not Abiword is installed:

which abiword

Not installed. Okay, so let's download the package

sudo apt-get install abiword

It'll go through the installation process, and will put a link on the desktop under Office. I decided to type something and add some graphic to it.


As you can see, AbiWord has multiple fonts, and the ability to add graphic. That's not all. It also has various capabilities, such as HTML markings, and epub export. I have book making ambition, remember? So, this capability is a big deal to me.


I don't have a scanner attached to my Raspberry Pi, yet, and there's no instruction on it. So, I don't plan to add some anytime, soon. I'm happy with my current set up of taking pictures with my 3DS and transfer it via SD card. I do batch transfer, though, so it's not like it's an everyday occurrence.


The printer setup is quite flexible. I'm not sure whether to credit AbiWord for it, or maybe CUPS printer driver. There is an option to print 2 or even 4 pages on one page, and it looks to be quite robust, with various options. I'm pretty happy with it.


And there it is, the double page print. It's quite charming to have, and I like it very much! I think AbiWord should be in everyone's toolbox, assuming you're not running it headless. If you install GUI for work, then you should definitely get AbiWord.

By the way, I eventually did installed Open Office, also known as Libre Office.

which libreoffice

Installing it:

  1. sudo apt-get install openoffice.org
  2. sudo apt-get install libreoffice


I always know it by the openoffice moniker, so imagine my surprise when it installed libre office! Ah, the constant march of progress!


Wednesday, August 28, 2013

Raspberry Pi Journal #13

Installing CUPS for Printer


So, I have an old Samsung ML-2525W laser printer laying around. Naturally, since I'm looking for more gadgets to be connected to my Raspberry Pi, it got the job. The first shock of the day is that there is no standard printing spool. It took some digging to come up with lpr, and lp. Both of these program are old. The new one, after much digging, is CUPS (Common Unix Printing System). That one threw me out for a loop, because Apple made it.

Anyway, having CUPS makes life tremendously easy. There is a gotcha with permission, though. Let's go through the process.

The first thing you do is to install CUPS:

sudo apt-get install cups

After some heavy duty downloading, everything is set up. The installation starts cups daemon server automatically. You can check it out by opening your web browser to localhost port 631

http://127.0.0.1:631

If all goes well, you will see the browser showing CUPS Administration page.


Everything is browser-based, so it's really easy. Just add a new printer and you're home free.


You need to login and enter your password. The browser interface allows you to administer the printer completely, including moving printing jobs, or even cancelling them. You don't want just anybody to be able to do so.


Did I say adding a new printer is easy? Well, there's a gotcha. You cannot add a new printer without proper permission. Didn't you just entered your password? Yes, you did. So, what's going on?

This instruction should be with all printer installation instruction, but some missed it. You need to add yourself to printing administration group. Do this:

sudo usermod -aG lpadmin username

where if you're the default user, that should be "pi".


Success! I see my printer name there. After selecting it, would you believe I still have to choose my printer from a long list of names? Anyway, set up your defaults here. I set my page size to "US Letter".

That's it! Do a test print and see if it works! Congratulations, you just added a new printer!